In WordPress, archive pages are dynamically generated by the theme. Unlike standard posts or pages, they are not stored as individual entries in the database, which means they require special functionality to be scanned for accessibility issues.
Two common examples of archive pages in WordPress include blog category archives and WooCommerce product archives, which display collections of posts or products based on taxonomy or type.
Accessibility Checker provides two scanning options for archive pages:
- Archive Scanning that auto samples and analyzes a subset of archive content
- Taxonomy Scanning that evaluates all taxonomy term archive pages.
Errors and warnings found on archive pages are reported in a dedicated Archive Pages section within the Accessibility Checker interface. These findings are also included in the full site accessibility reports.
Archive Page Scanning is a Pro-only feature in Accessibility Checker.
Configuring Archive Page Scanning
Archive page scanning is disabled by default on new Accessibility Checker installs. This feature can be enabled in the Settings area, which you will need to be logged in as an Admin user to access. See our Getting Started Quick Guide for details on how to access Settings.
In the Settings area, there are two different checkboxes that control archive scanning.

The Archive Scanning option will collect a sample of taxonomy terms for scanning across the post types to be checked, which is a more streamlined way to get an understanding of accessibility status across archives. This method is more efficient, because it adds a limited number of items to the Full Site scan.
The Taxonomy Scanning option can be checked off in addition to Archive Scanning if a comprehensive scan of all taxonomy term archive pages is needed. Instead of sampling, Accessibility Checker will scan the archive for every term. This is more thorough, but also has the potential to add a lot more scanning overhead.
Once you have selected the desired configuration, be sure to click “Save” before exiting the Settings page.
Run a New Full Site Scan
Once Archive Scanning is configured, run a new full site scan. If you are not sure how to run a full-site scan, see our Getting Started Quick Guide.
After clicking “New Accessibility Check” you should see archive pages included in the summary of what will be scanned. Depending on whether you have selected Archive, or Archive + Taxonomy Scanning, the message will be slightly different.
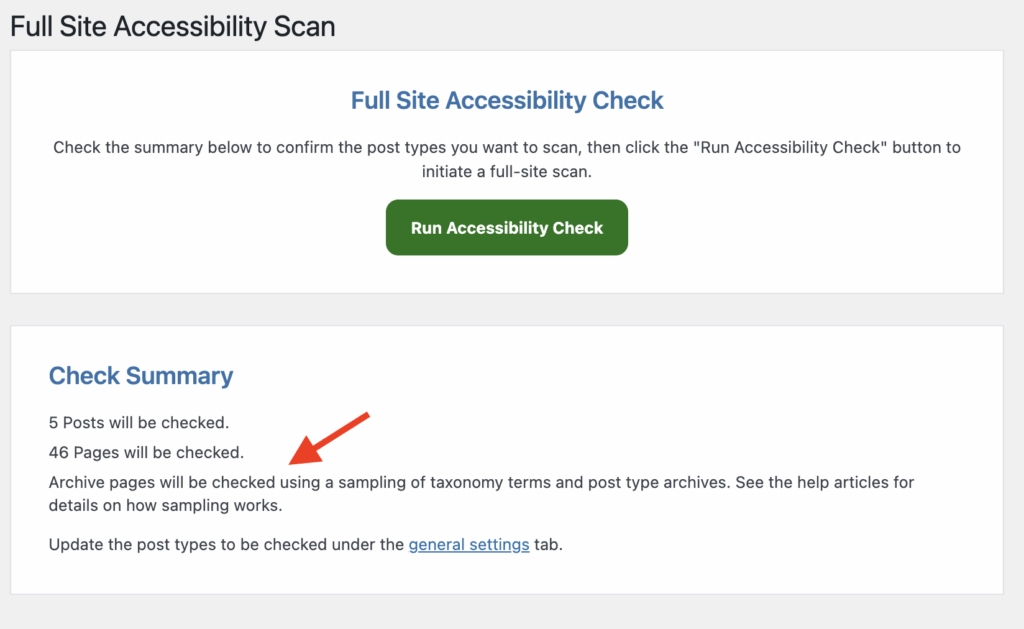
After a full-site scan that includes archives has finished, continue reading to learn how to access reports specific to archive pages.
Viewing Archive Page Reports
After configuring archive page scanning and running a new full-site scan, look for Accessibility Checker in your WordPress admin left-side menu, select or hover over it, and click on ‘Archive Pages’.
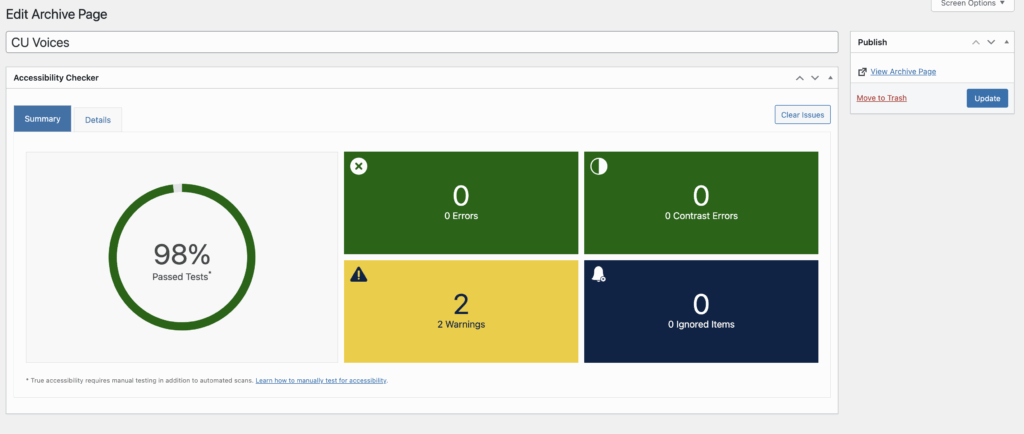
If the scan ran correctly and there were archive pages available to sample, the Archive Pages list should be populated with one or more items. Admin columns on the right-hand side will provide summary data for percentage passed checks, error count, contrast error count, warning count, and ignore count.

Clicking on each entry in the Archive Pages list will allow you to view the full report for that individual archive page. Because archive pages are controlled by the theme or template, you will not have the ability to edit the archive pages from this view. Because content on archive pages also generally isn’t controlled from the WordPress editor, the Readability tab will not be visible in this view.
Errors, contrast errors, and warnings that are surfaced on archive pages can also be found from inside Accessibility Checker’s global reports (Open Issues and Fast Track).