
As a best practice, links should warn users if they will open a file rather than another web page.
Though it is not strictly required for Web Content Accessibility Guidelines (WCAG) conformance or to comply with EN 301 549, including the file type information in a link is recommended in WCAG Technique H30: Providing link text that describes the purpose of a link for anchor elements and in the U.S. Web Design System (USWDS) link guidelines.
BoardScribe links don’t include file type or size information out of the box, but you can easily add them with Accessibility Checker Pro or by manually editing the link labels.
How to Add File Information to Links
As shown in the screenshot below, the visible link text in BoardScribe is just “View Agenda” and “View Minutes” (and the accessible name includes the date they reference).
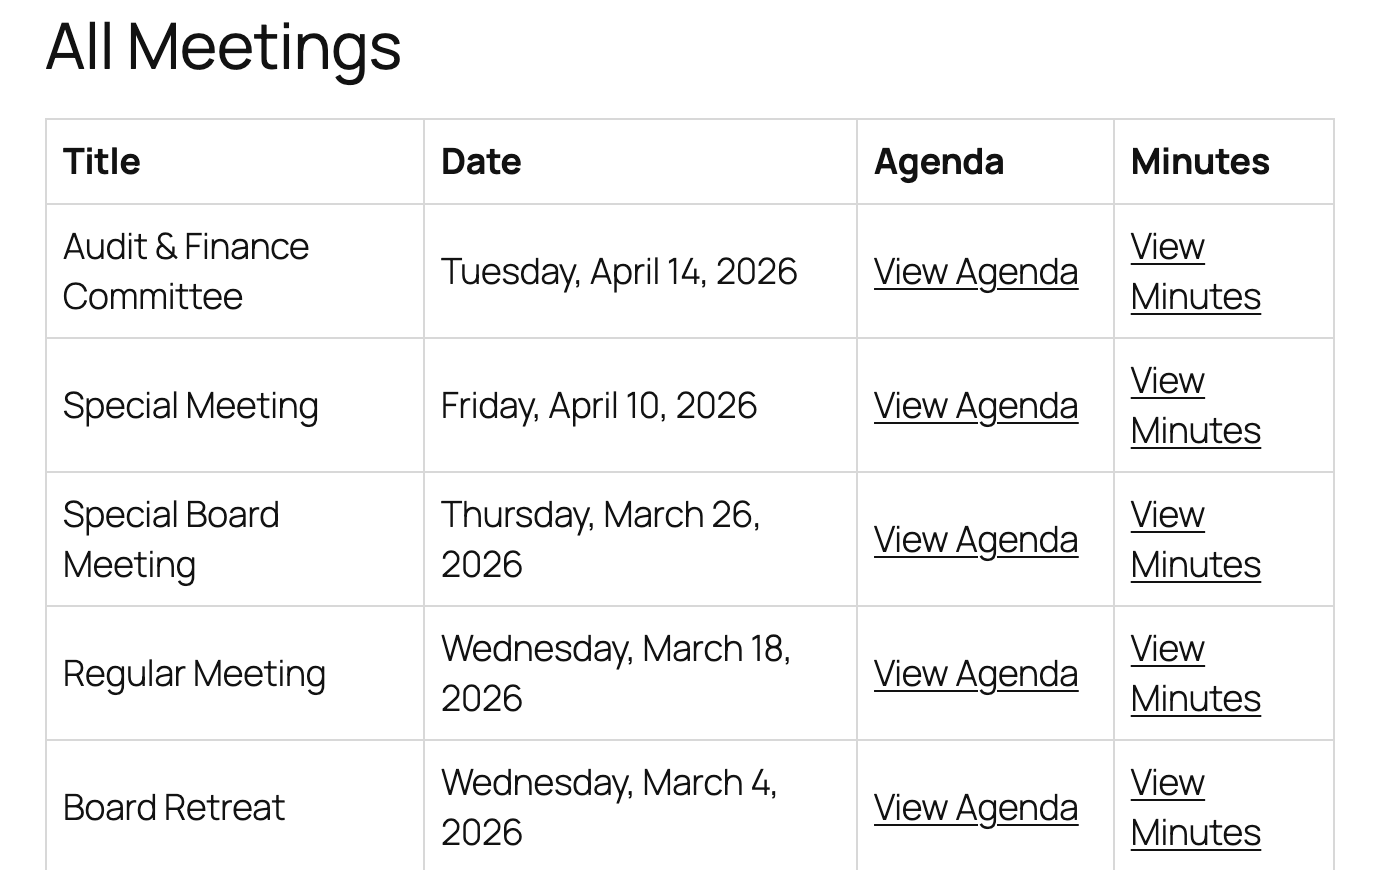
There are two ways to change this.
Option 1 (Recommended): Add file information automatically with Accessibility Checker Pro
If you have Accessibility Checker Pro, you can automatically add file type and size information to all links that open documents and non-HTML pages with the click of a button.
- In your WordPress admin, go to Accessibility Checker > Settings.
- Click on the Fixes tab in the settings navigation.
- Check the box for the “Add File Size & Type To Links” fix.

- Click the Save Changes button at the bottom of the page.

When saved, this setting automatically adds file type and (if available) size information in the USWDS format[[FILE_TYPE, SIZE] to all links on your site, including BoardScribe links. This will be reflected in both the visible text and also the aria-label read by screen readers.
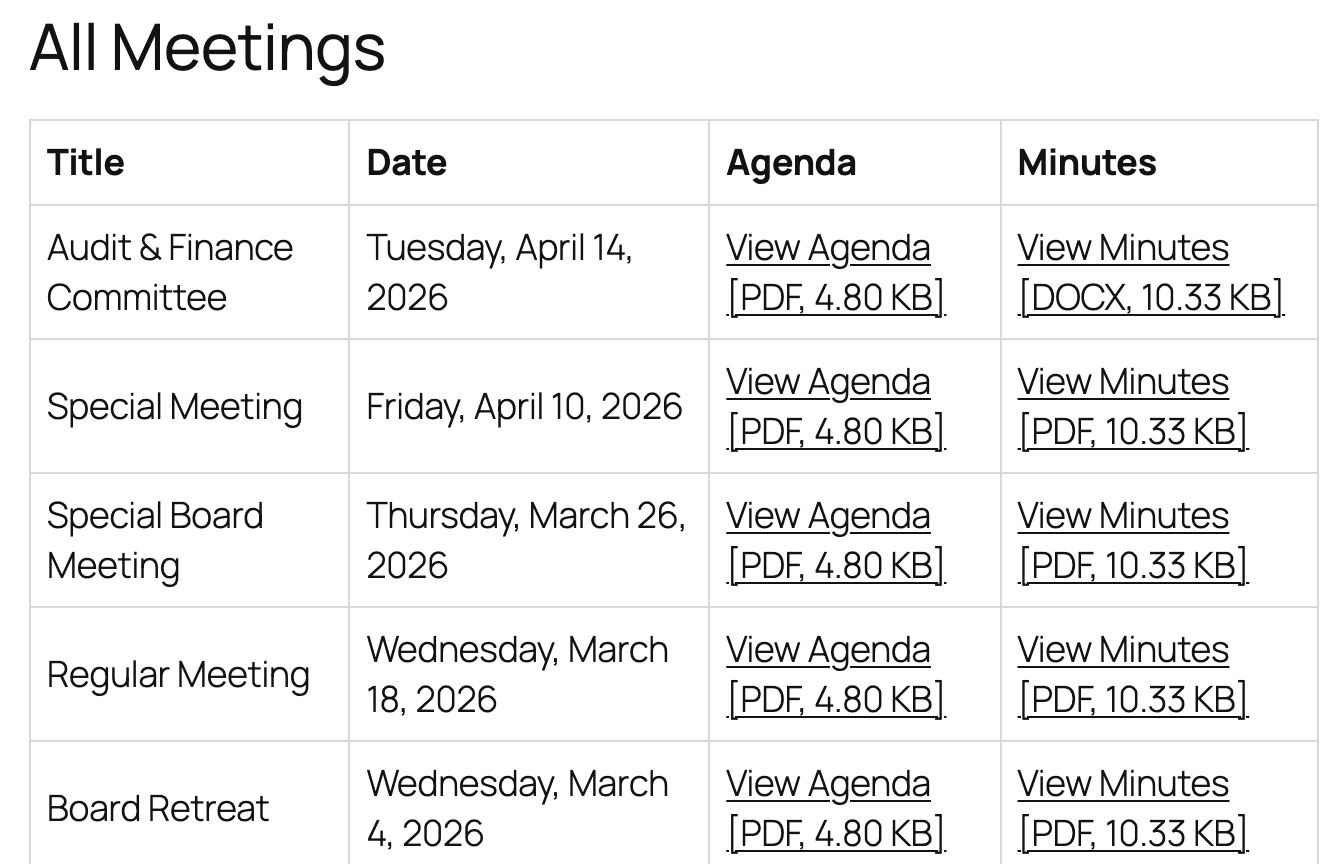
We recommend this approach because it is the most dynamic and will always output the correct file type, even if you upload multiple file types, as shown in the first row of the table in the image above, where both a PDF and a DOCX have been linked.
This approach also includes file size information if you upload the file to your media library, which isn’t possible if you add this information manually.
Learn more about this Accessibility Checker fix.
Option 2: Modify link labels in the block or shortcode
Both the BoardScribe shortcode and the BoardScribe block allow you to override the text for the Agenda and Minutes links.
If your files are always the same type, you can use this functionality to include file type information in the link text. It’s not dynamic, but it is a workaround if you don’t yet have Accessibility Checker Pro.
Important: This is not our recommended approach for adding file type information, as it could result in incorrect link information if you upload a different file type. Only follow these instructions if you always publish agendas and minutes in the same format.
Shortcode instructions
- In your WordPress admin, go to Board Meetings > Settings.
- Click “Shortcode Builder” in the BoardScribe settings navigation.
- Configure your shortcode display settings as desired.
- Expand the “Link Labels” accordion.
- Fill in the fields for the Agenda and Minutes link labels, including the file type. For example,
Agenda (PDF)andMinutes (PDF).
- Copy the shortcode and insert it into a page or post.
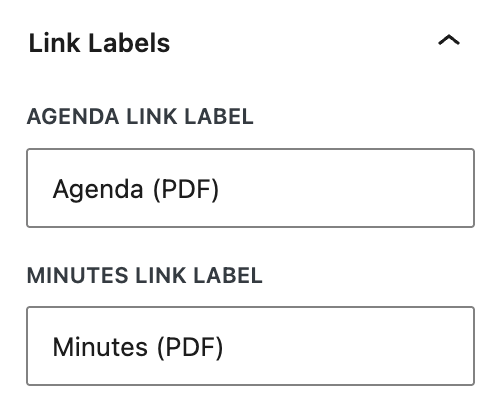
This custom label will be reflected in both the visible text and also the aria-label read by screen readers.
Block instructions
- Insert the BoardScribe block into a post or page, or open the editor where it is already inserted.
- In the sidebar for the BoardScribe block, expand the “Link Labels” accordion.
- Fill in the fields for the Agenda and Minutes link labels, including the file type, as described in the shortcode instructions above.

- Save your post or page.
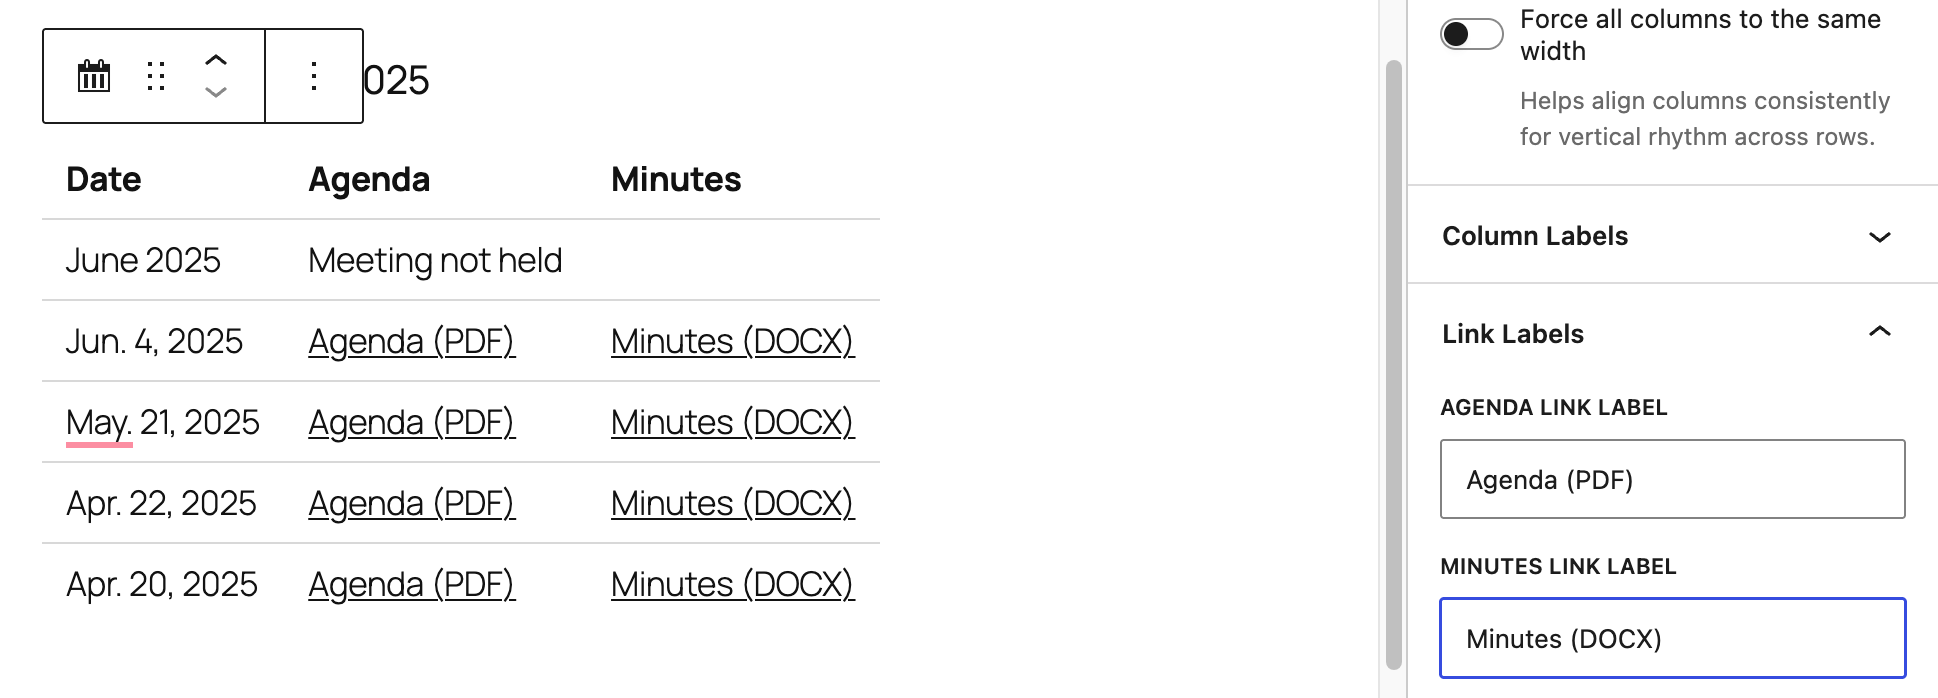
As with the shortcode, custom link labels in the BoardScribe block will be reflected in both the visible text and the aria-label read by screen readers.